I'm a lifelong video game enthusiast. My brother and I cut our teeth on Atari 2600, Commodore 64/128, and NES games, eventually learning to develop our own in BASIC, QBasic, C (long live MUDs!), and FreeBASIC (a modernized, open source QuickBASIC derivative).
For all that I enjoyed games, including many plays through Super Mario 3 or youth group battles in Starcraft and Descent, I never got too sucked into any one game. I own hundreds, but I've actually completed very few. (And despite playing dozens of roguelikes, Brogue is the only one I've beaten.) Instead, I always tended to prefer the experience of making them - learning to reproduce certain mechanics, trying new concepts, riffing on themes, and working within constraints.
In short, the best "game" to me was the experience of making a game, and sharing my works in progress with friends was as fun to me as actually completing a game.
All that leads to the point of this post: I recently decided to learn how to make games in Roblox, the global gaming phenomenon that I've heard about over the years but somehow never even looked at until last week. A friend from the QB / FB forums had recently published one there and I wanted to check it out, and then of course, having experienced his, I then had to try my hand at making my own.
What blows me away about Roblox is how much power it puts in the hands of the newbie. Granted, I have significant software development experience, so learning its concepts is more a matter of pattern matching and skills translation than learning from scratch, but I still can't believe how easy it is to create an interactive, multiplayer 3D game that is instantly publishable and playable across any device. Within a matter of hours, I was jumping around the beginnings of a platformer with my friend, remembering all my lost years trying to make Winsock work in QB for multiplayer gaming. 😅
I imagine I'll try to formalize a development log, but for now the plan is this: learn the concepts I need to learn to create a complete, if small, platformer game. The goal will be a game that can be completed solo but that has an optional multiplayer experience that, when completed by a group of 2 or more players, resets the level for the next group. There are many things you have to learn to make such a game, but thanks to Roblox, you get all the complexities of multiplayer gaming, 3D physics, and state persistence for free.
Development log
If you have a Roblox account, hit me up and I'll add you as a friend. Right now, my sandbox is only playable by my friends list. (Granted, it's not very notable either; when it's further along, I'll be sure to share it publicly.)
Thus far, I've explored / incorporated the following concepts:
- Learning my way around Roblox Studio, including cloud saving and game publishing, part creation, and script editing.
- Differentiating various aspects of the Roblox game model; workspace, parts, players, camera, the leaderboard, server vs. local game content, and more. The official first experience tutorial was helpful for this.
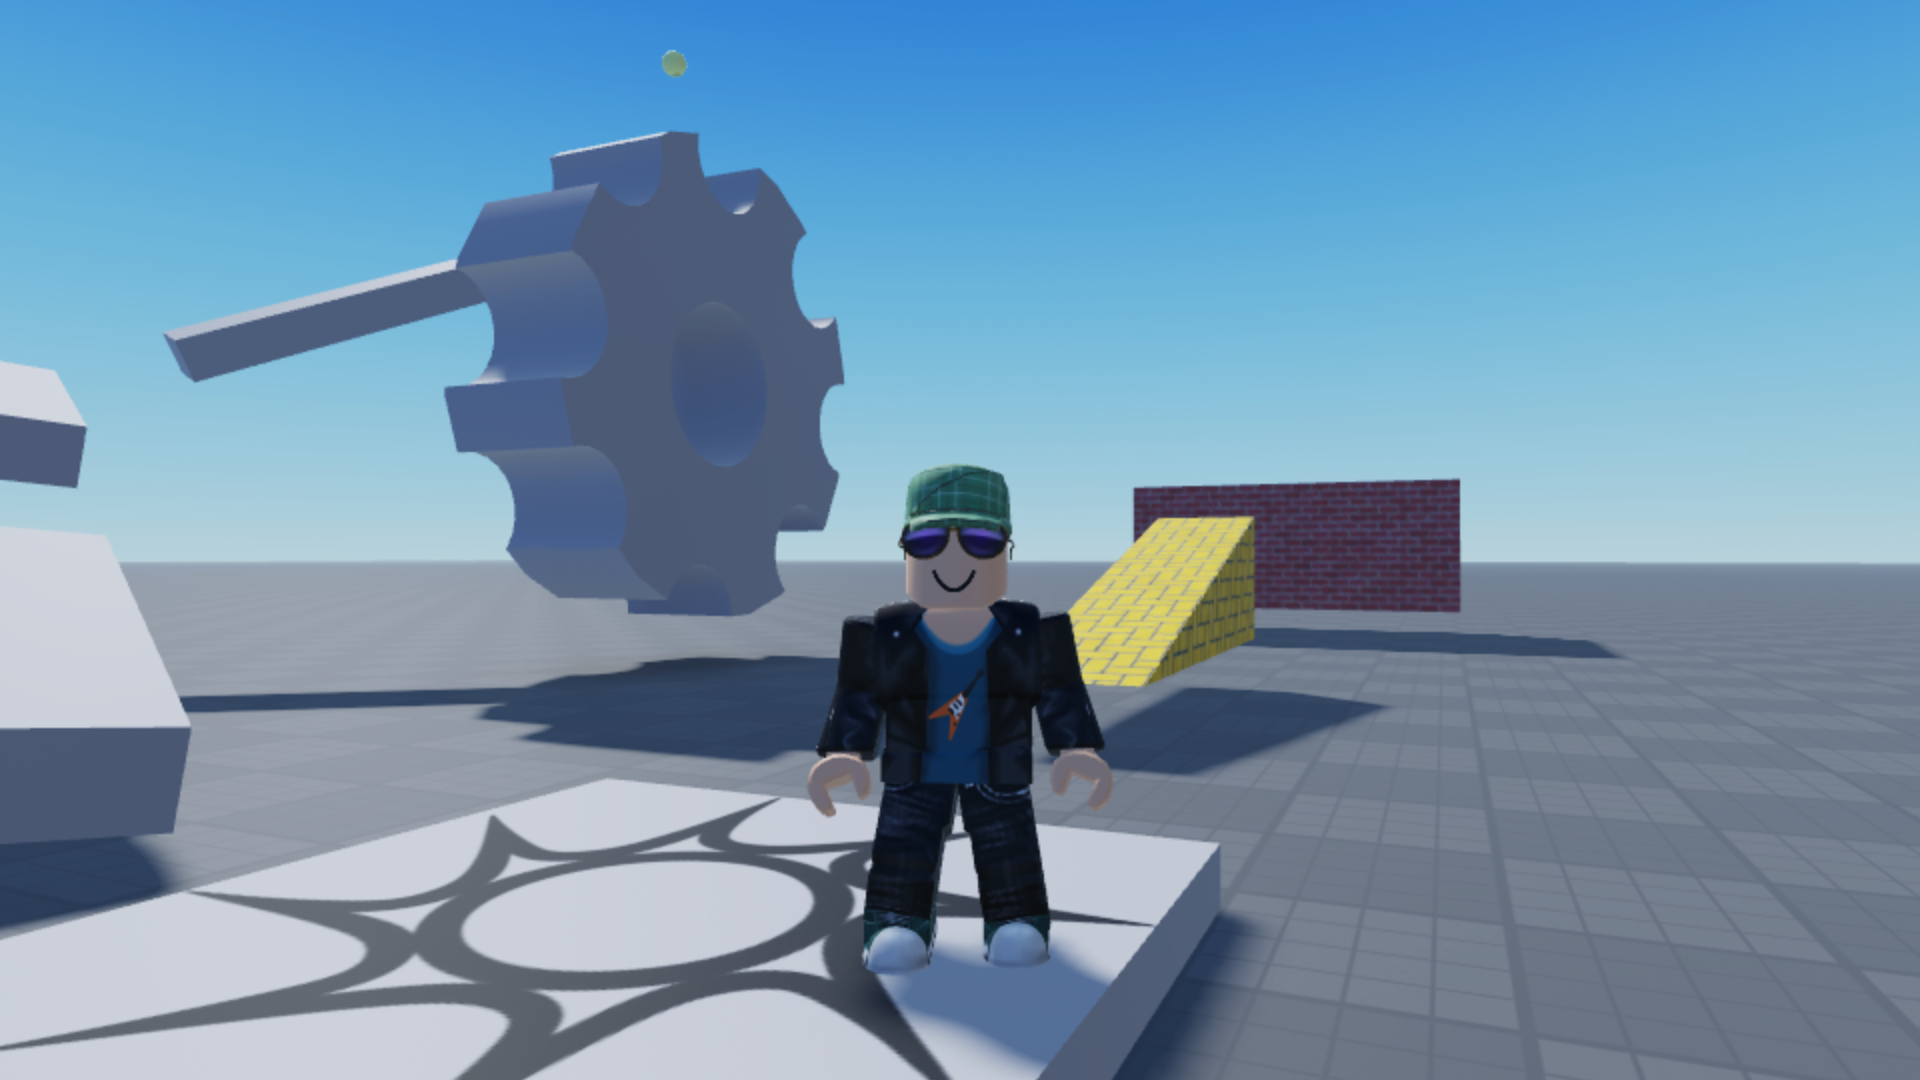
- Importing a part model (the gear) and attaching a script to it to set it in motion via a constant pivot around its center.
- Importing a script for extra jumping and customizing it to my game world, where collecting additional jumps will be the primary power-up that allows players to reach new parts of the game world.
- Creating a module script in ReplicatedStorage to encapsulate the logic for granting power-ups. I called this RewardManager, currently containing a single grantJump() function. The scripting language in Roblox is Lua, which I've never worked with, but module definition felt similar to JavaScript modules.
- Creating a part that is visible only locally to each player, so the same power-up can be collected by every player once in the same location. I'm not sure I have this in the right spot, but for now it's a simple JumpBonusSpawner script in my StarterGui collection. Touching this part rings a chime and increases the player's jump counter, allowing them access to double jump.
- Creating a part that when touched doubles the player's speed for 2 seconds. I paired this with a StarterGui script that reveals a "Run!" indicator while the speed boost is active. I thought it would be nice to incorporate various temporary bonuses like this to the game and wanted to ensure the UI made clear which ones were active to the player.
- Showing the current number of jumps and other achievements unlocked by active players in the server via leaderstats. This is important for the multiplayer experience, as you need to know how far along other players are so you can enlist their aid to complete the game's final achievement.
I'm sure there are things I'm missing here, but generally speaking ... I'm pumped! The fact that I can literally go from zero to all this in a few short hours is unreal, though I feel like I could've arrived here even faster with more traditional development resources. Half the things I learned, I had to find a YouTube video, pause it at the right spot, and transcribe code. 😅
I think this is likely indicative of a generational difference. When I learned to code, I used books and magazines, IDE documentation, and eventually online language manuals. Troubleshooting eventually standardized around Stack Overflow or framework specific forums (e.g., Drupal forums and issue queues). In short: I learned to code before video really took off as a medium for knowledge sharing on the web. It’s great for demonstrating how to use a GUI, but it falls plenty short for sharing code snippets. (And as far as I can tell, Roblox levels are saved in binary files, so you don’t find sample repositories and gists.)
I'm not sure what to make of it, to be honest, but I'll at least be writing down what I learn for the sake of teaching my kids. I can't wait to experience what they create. 😊
Comments